Lifestyle
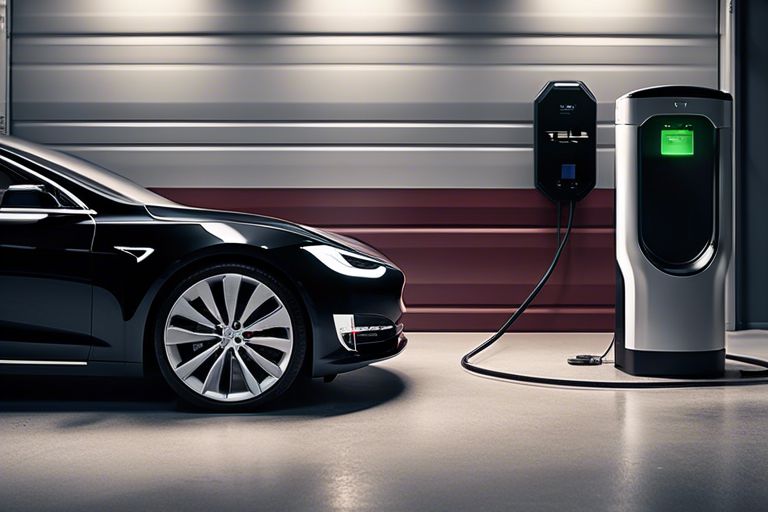
Install a Tesla Wall Charger – Step-by-Step Installation Guide
As an experienced electrician, I am here to guide you through the process of installing a Tesla Wall Charger in your home. Electrical work can be dangerous if not done correctly, so it is crucial to follow the steps carefully and ensure you have the necessary knowledge and tools. In this step-by-step guide, I will walk you through the process from start to finish, including the necessary precautions and important safety measures you need to take. By the end of this article, you will have the confidence and knowledge to successfully install a Tesla Wall Charger in your home. Let’s get started.
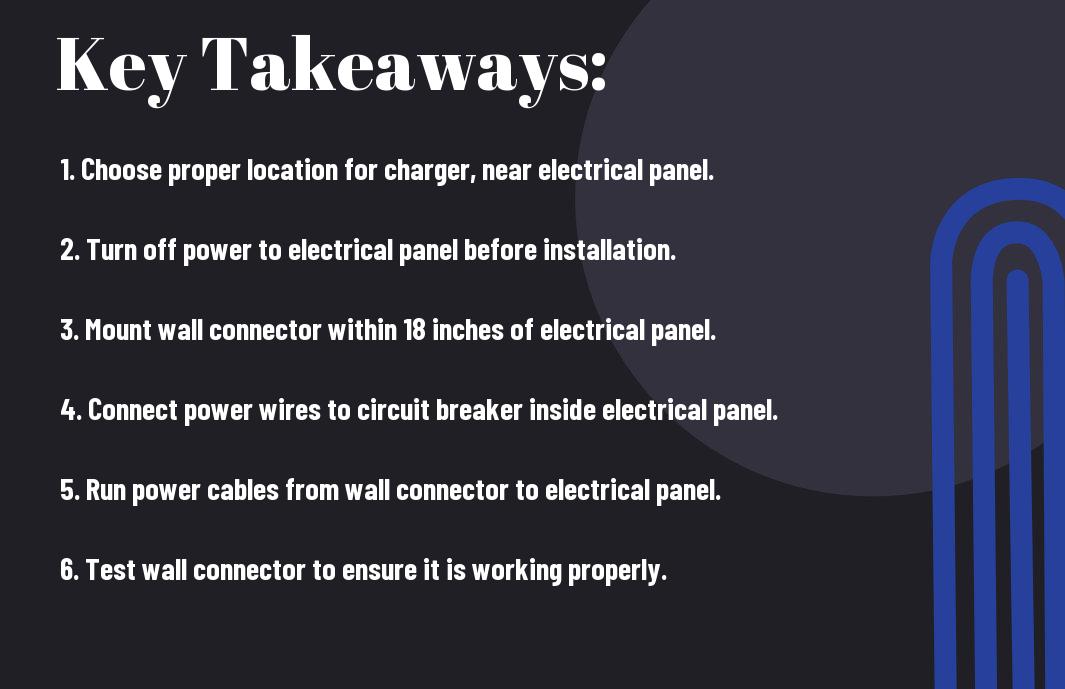
Key Takeaways:
- Proper Location: Choose a suitable location for the Tesla Wall Charger that provides easy access to your vehicle and complies with local regulations and safety standards.
- Electrical Requirements: Ensure that your electrical system meets the necessary requirements for the installation, including voltage, amperage, and circuit breaker capacity.
- Professional Assistance: If you are unsure about any aspect of the installation process, it is recommended to seek the assistance of a qualified electrician to ensure the installation is done safely and correctly.
- Mounting the Charger: Follow the step-by-step instructions provided by Tesla for mounting the Wall Charger securely to the wall, ensuring it is properly leveled and anchored.
- Testing and Activation: After completing the installation, it is important to test the Wall Charger to ensure it is functioning correctly before activating it for regular use with your Tesla vehicle.
Determining the Right Location for the Tesla Wall Charger
As a Tesla owner, installing a wall charger at home can significantly improve the convenience of charging your vehicle. However, it’s crucial to carefully consider the location of the charger to ensure the safety and effectiveness of the installation. In this chapter, I will guide you through the process of determining the right location for your Tesla wall charger.
Assessing Electrical Panel and Capacity
Before deciding on the location for the Tesla wall charger, it’s important to assess the electrical panel and capacity of your home. I recommend consulting with a licensed electrician to ensure that your electrical panel has the capacity to support the additional load of the charger. Overloading the electrical panel can be dangerous and may lead to electrical fires. It’s also essential to check if there are any local codes or regulations that you need to comply with for the installation of a new circuit for the charger. Your electrician can help you determine the right gauge of wire and the appropriate amperage for the circuit to ensure a safe and efficient installation.
Choosing a Suitable Mounting Location
When choosing the mounting location for the Tesla wall charger, there are several factors to consider. Firstly, you’ll want to select a location that is easily accessible for your vehicle, allowing for easy connection and disconnection. Additionally, the mounting location should provide adequate ventilation to prevent overheating of the charger. I recommend selecting a location near your electrical panel to minimize the distance the wiring needs to travel. It’s also important to consider the aesthetics of the installation, as the charger will be a prominent feature on the exterior of your home. Lastly, ensure that the chosen location is protected from the elements to prevent any damage to the charger.
Installation Process of the Tesla Wall Charger
If you’ve made the decision to install a Tesla Wall Charger at home, you’ll be pleased to know that it’s a straightforward process that you can undertake with some basic electrical knowledge and the right tools. In this chapter, I will guide you through the installation process, from preparing the necessary tools and equipment to wiring and connecting the Tesla Wall Charger to your electrical system.
Preparing Necessary Tools and Equipment
Before starting the installation process, you’ll need to gather the necessary tools and equipment. These will include a voltage tester, wire cutters, wire strippers, a torque screwdriver, and a drill. Additionally, you’ll need to ensure that you have the Tesla Wall Charger itself, along with any mounting hardware that may be required. It’s important to ensure that you have all the necessary equipment before starting the installation, as it will make the process much smoother and more efficient.
Wiring and Connecting the Tesla Wall Charger
Once you have all the necessary tools and equipment, it’s time to begin the process of wiring and connecting the Tesla Wall Charger. This will involve identifying the location for the charger, mounting it securely to the wall, and then connecting it to your electrical system. It’s crucial to follow the manufacturer’s instructions carefully and to ensure that all connections are made securely and in accordance with local electrical codes. Remember, working with electricity can be dangerous, so it’s important to take the necessary safety precautions and, if in doubt, consult a professional electrician. Once the charger is wired and connected, you can then test it to ensure that it is functioning correctly and providing power to your Tesla vehicle.
Testing and Finalizing the Tesla Wall Charger Installation
Now that the Tesla Wall Charger has been installed and the electrical connections have been made, it’s time to move on to testing and finalizing the installation. It is crucial to ensure that the charger is functioning properly and to take the necessary safety precautions before using it.
Conducting System Checks and Safety Precautions
Not only is it vital to check the system for any potential issues that could pose a safety hazard, but it is also important to follow all safety precautions outlined in the installation manual. I recommend carefully checking all the wiring connections to make sure they are secure and properly installed. Additionally, you will want to conduct a thorough system check and testing of the charger to ensure it is functioning as it should.
Finalizing the Installation and Commissioning
Once the system checks and safety precautions have been taken care of, it’s time to finalize the installation and commission the Tesla Wall Charger. This involves activating the charger and ensuring that it is ready for use. I advise following the manufacturer’s instructions for commissioning the charger and making sure that the system is ready to charge your vehicle.
Install a Tesla Wall Charger – Step-by-Step Installation Guide
With these considerations in mind, you are now ready to install your Tesla Wall Charger. Following the step-by-step guide provided by Tesla, you can ensure a safe and efficient installation process. I highly recommend referring to Tesla’s official installation guide at Installing a Wall Connector for detailed instructions and safety precautions. By following the instructions carefully, you can have your Tesla Wall Charger up and running in no time, providing convenient and reliable charging for your electric vehicle.
FAQ
Q: What tools and materials do I need to install a Tesla Wall Charger?
A: You will need a Tesla Wall Connector, circuit breaker, wire cutters, wire strippers, screwdrivers, a voltage tester, electrical tape, wire nuts, and a mounting kit for installation.
Q: How do I choose the best location to install the Tesla Wall Charger?
A: The ideal location for the Tesla Wall Connector is near your electric service panel and close to where you typically park your Tesla. It should also be easily accessible for charging and comply with local building codes and regulations.
Q: What electrical requirements should I consider when installing a Tesla Wall Charger?
A: The Tesla Wall Connector requires a 60-amp circuit breaker and proper wiring for adequate power supply. It is crucial to ensure that the electrical system can handle the additional load and consult with a qualified electrician if necessary.
Q: Do I need to hire a professional electrician to install the Tesla Wall Connector?
A: It is recommended to hire a professional electrician to ensure a safe and proper installation of the Tesla Wall Connector. Working with electricity can be hazardous, and a trained electrician can ensure that the installation meets safety standards and local regulations.
Q: Are there any safety precautions to consider during the installation of the Tesla Wall Connector?
A: Before starting the installation, it is essential to turn off power to the electrical panel and verify that the circuit is de-energized. It is also crucial to follow all manufacturer instructions and local electrical codes to ensure a safe and reliable installation.
-
 Entertainment2 years ago
Does The Rock Have a Twin Brother? Exploring Celebrity Family Facts
-
 Lifestyle2 years ago
How Long Does a Killer Whale Live – What's Their Average Lifespan?
-
 Lifestyle2 years ago
How Many Hairs Are on a Human Head? Understanding Hair Density
-
 Lifestyle2 years ago
What Is an Industrial Plant? Exploring Industrial Facilities
-
 Technology2 years ago
How Far Can a Human Eye See – What's the Maximum Range?
-
 Lifestyle2 years ago
North Carolina Education Lottery App – Playing Lottery Games on Mobile
-
 Technology2 years ago
How Many People Can Solve a Rubik's Cube – Is It a Common Skill?
-
 Technology2 years ago
Is Dr. Pepper a Coke Product – Who Manufactures It?